Step 2. Restore 3CX Backup on Yeastar Phone System
Upload 3CX backup and restore Yeastar Phone System from the backup.
Requirements for Yeastar phone system
| Item | Requirement |
|---|---|
| Mode | Software Edition or Cloud Edition |
| Version | 83.16.0.70 /
84.16.0.70 |
| Environment | New phone system or after a factory reset |
Procedure
- Log in to PBX web portal, go to .
- Upload the 3CX backup.
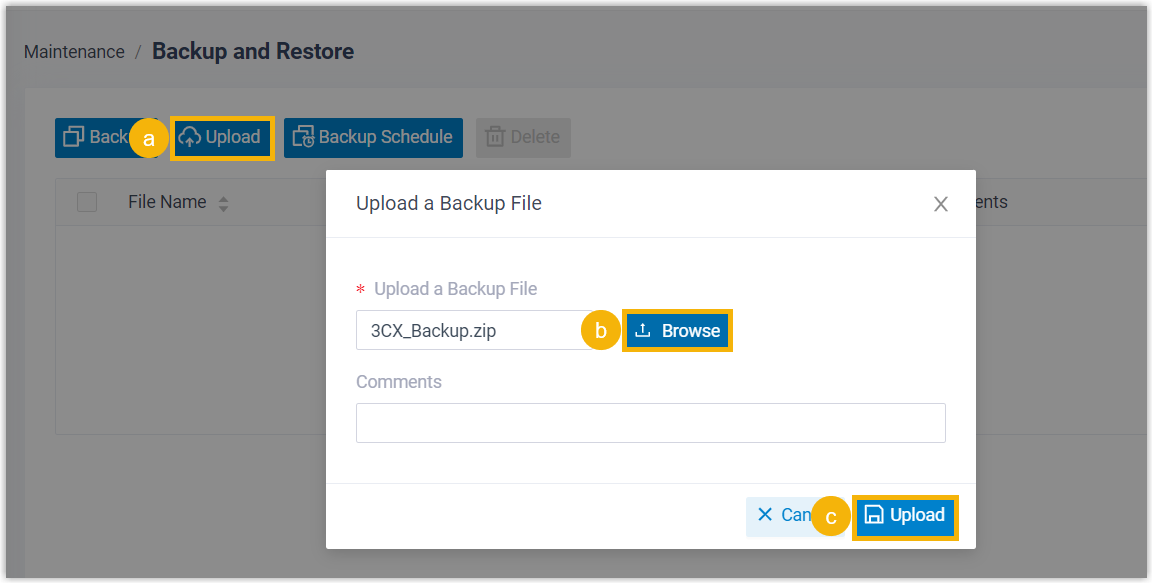
- Click Upload.
- Click Browse to select the 3CX backup.
- Click Upload.
- Restore Yeastar Phone System from 3CX backup.
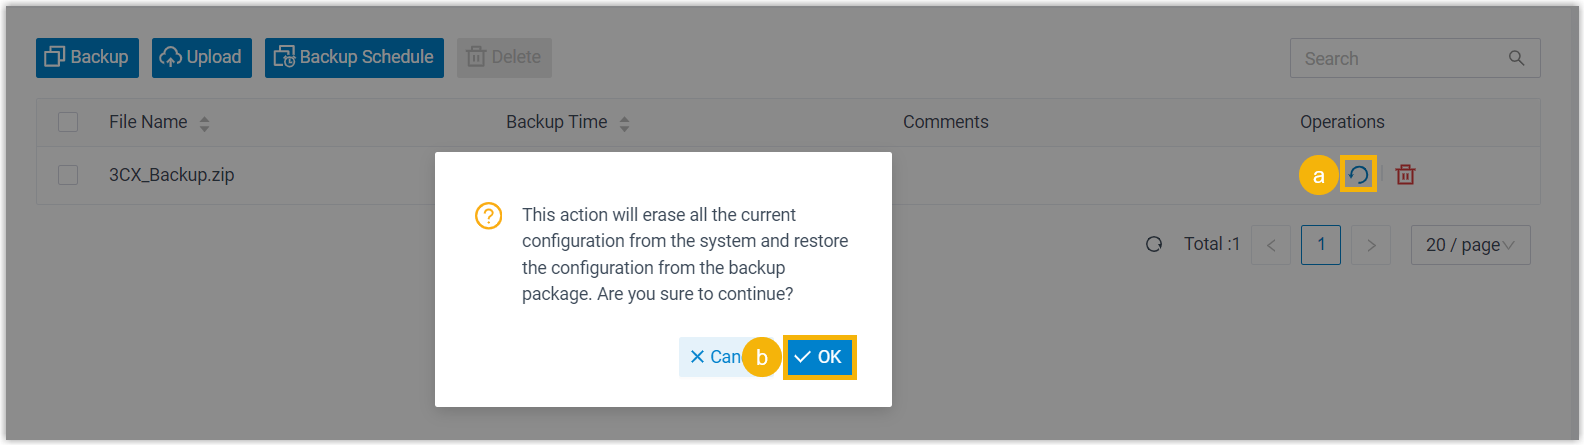
- Click
 beside the 3CX backup.
A window pops up for confirmation.
- On the Prioritize Onsite
Proxy for Auto Provisioning option, decide whether
to prioritize using the Yeastar Onsite Proxy for auto provisioning,
and select the desired Onsite Proxy instance as needed.Note: This option is available only when there is at least one Onsite Proxy instance on the Yeastar PBX.
Once set, if phones were originally provisioned via Local LAN / VPN method in 3CX and the specified Onsite Proxy was deployed in the same subnet as the phones, Yeastar PBX will try to provision the phones via the specified Onsite Proxy first during restoring. For more information about setting up Onsite Proxy, see Connect Onsite Proxy to Software Edition and Connect Onsite Proxy to Cloud Edition.
- Click OK to proceed.
- Click
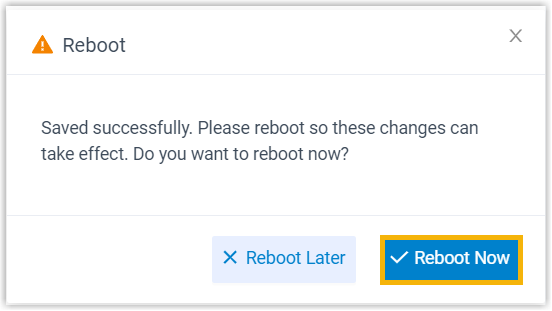
- Reboot Yeastar Phone System to make the configurations take effect.
Result
Yeastar Phone System is restored from 3CX backup.