Step 1. Create a Backup on 3CX
Create a 3CX backup and download the backup file.
Requirements for 3CX phone system
| Item | Requirement |
|---|---|
| Version | V18 or V20 |
Procedure
- On 3CX management console, go to .
- Create a new backup.
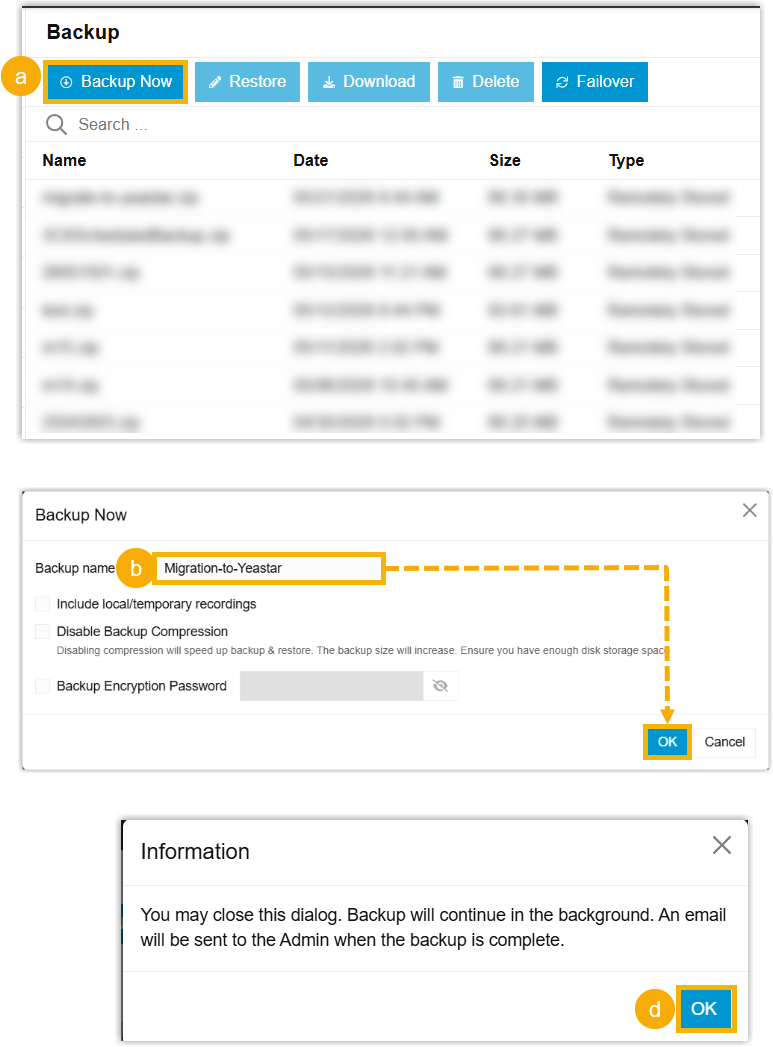
- Click Backup Now.
- In the pop-up window, enter a name in the Backup
name field to identify the backup, and then click
OK.Note: Do NOT select any of the additional items, as they cannot be migrated to Yeastar Phone System.
-
In the waiting prompt pop-up window, click OK.
- Click the browser refresh button to manually reload the
webpage.
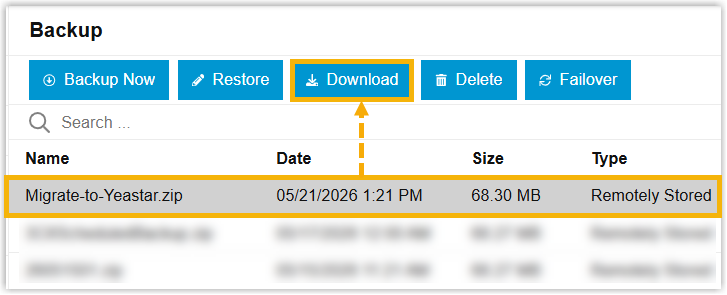
The created backup appears in backup list.
- Select the created backup in backup list and click
Download.
Result
The 3CX backup is downloaded to your computer as a .zip file.
What to do next
- Remove unnecessary files from 3CX backup, so as to reduce file size and
improve restore efficiency.
- Optional: Create a copy of 3CX backup.Note: It is recommended to edit a copy of the downloaded backup file, in case the original 3CX backup has retention value.
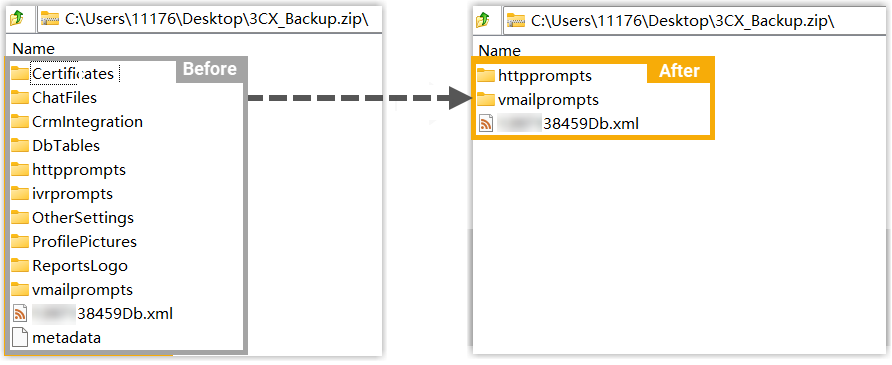
- Delete unnecessary files from the backup (or the backup copy),
keeping only the
httpprompts,vmailprompts, and.xmlfile.Important:- Do NOT unzip the backup (or the backup copy) to make
changes and then re-zip it. All deletions must be
performed directly within the
.zipfolder. - Do NOT create any new folders in the backup (or the backup copy). Retain only the listed items; otherwise, the restoration may fail.
- Do NOT unzip the backup (or the backup copy) to make
changes and then re-zip it. All deletions must be
performed directly within the
- Optional: Create a copy of 3CX backup.