Set Time Conditions
A Time Condition is a time group, which can be applied to outbound routes and inbound routes. This topic describes how to set office hours, non-office hours, and holidays on Yeastar Cloud PBX.
Set office hours
Add a Time Condition according to your office hours. Apply this Time Condition to inbound routes to route incoming calls during office hours to the corresponding destination.- Go to , click Add.
- In the Name field, enter a name to help you identify it.
- In the Time field, set the time according to your office time.
- Click
 to add another time period.
 - In the Days of Week field, select your office
days.
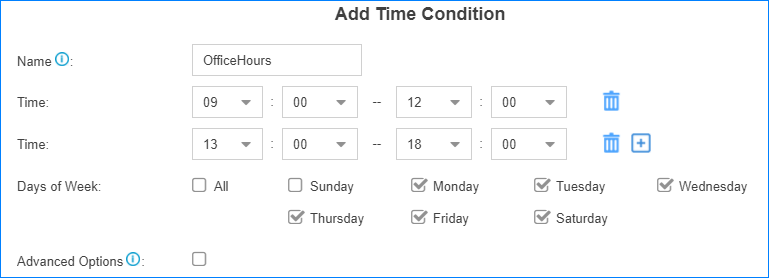
- If you want to apply the time period(s) to specific
dates, select the checkbox of Advanced Options, and
set the month and the days of month. Note: Advanced Options is disabled by default, which means that the time period(s) will be applied throughout the year.
- Click Save and Apply.
Set non-office hours
PBX has a default Time Condition-Other Time. Generally, when you're configuring an inbound route, you can set one destination for office hours, and set the other destination for Other Time.
However, you may need to add another Time Condition to route incoming calls to other destinations due to company's schedule. For example, you want all incoming calls during lunch break to be routed to the receptionist. In this way, employees can enjoy nap time without missing any important calls.
In this case, you can add another Time Condition for non-office hours.
- Go to , click Add.
- In the Name field, enter a name to help you identify it.
- In the Time field, set the time according to your non-office time.
- Click to add another time period.
- In the Days of Week field, select your office
days.
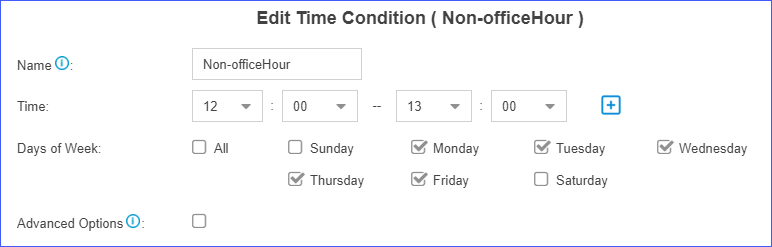
- If you want to apply the time period(s) to specific
dates, select the checkbox of Advanced Options, and
set the month and the days of month. Note: Advanced Options is disabled by default, which means that the time period(s) will be applied throughout the year.
- Click Save and Apply.
Set holidays
You can add a group of holidays and set a Time Condition destination like an IVR for the holidays on your inbound route. When a customer calls to your company during holidays, the PBX will route the call to the IVR and inform your customers that you are on vacation.
- Go to , click Add.
- In the Name field, enter a name to help you identify it.
- In the Type field, select a type.
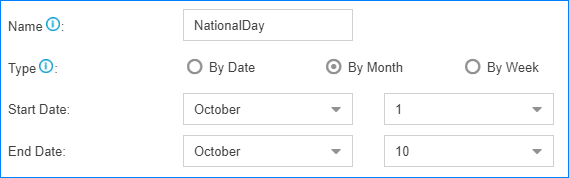
- By Date: If the holiday such as Chinese Spring Festival varies every year, select this type.
- By Month: If the holiday such Chinese National Day always falls on the same calendar date, select this type.
- By Week: If the holiday such as Thanksgiving Day always falls on the same week, select this type.
- In the Start Date field, select the start date of the holiday.
- In the End Date field, select the end date of the holiday.
- Click Save and Apply.