Set up WebRTC Click-to-Call
Create a WebRTC trunk on the PBX, and place the generated link in your website. When a website visitor clicks the link, a WebRTC call will be established between the visitor and the pre-configured destination of the PBX.
1. Create a WebRTC Trunk
- Enable WebRTC feature on the PBX.
Go to , check the option Enable, click Save.

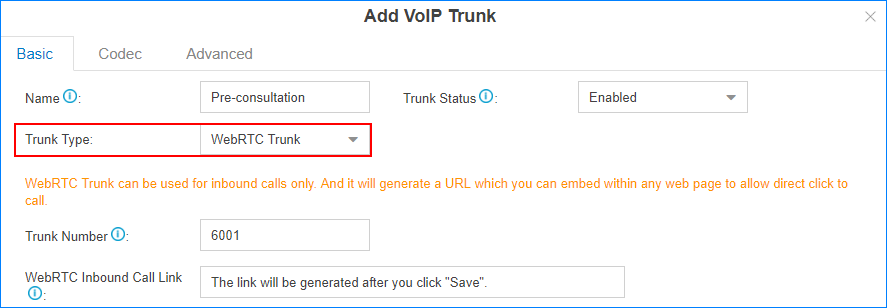
- Go to , click Add.
- In the Name field, enter a trunk name.
- In the Select Country drop-down list, select General.
- In the Trunk Type drop-down list, select
WebRTC Trunk.

- Use the default number or change the Trunk Number.
When a WebRTC call is made through this trunk, the trunk number will be displayed on the ringing endpoint.
- Click Save.
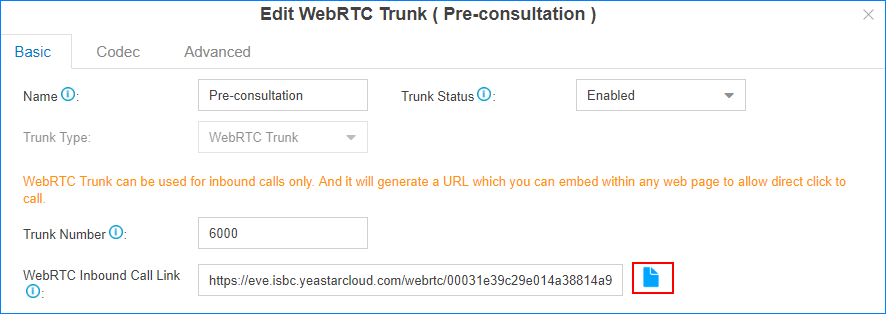
A link for the WebRTC trunk is generated in WebRTC Inbound Call Link. You can place the link on your web page. When your website visitors click the link, they will be connected to the destination of this WebRTC trunk.
- On the pop-up dialog, click Copy Now or Copy Later.
2. Set WebRTC Call Destination
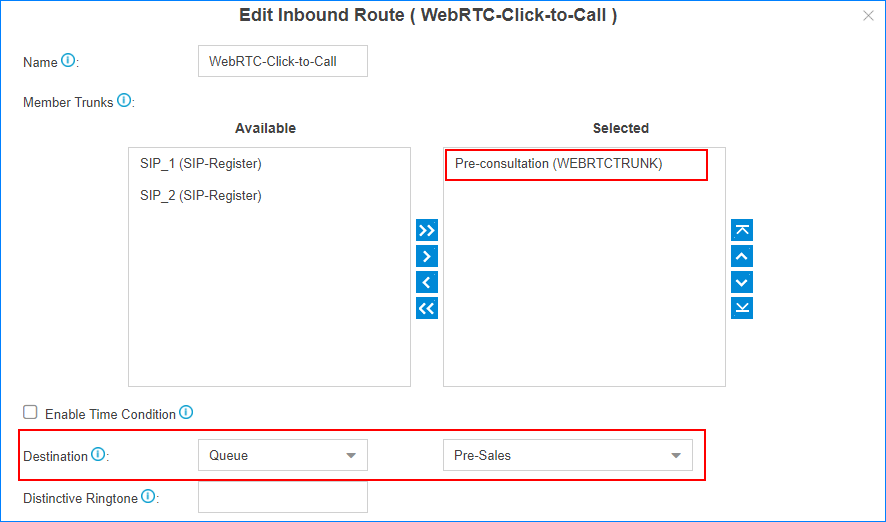
Create an inbound route for the WebRTC trunk to route the WebRTC incoming calls. When the website visitors click to call from the web page, the calls will be routed to the configured destination.
- Go to , click Add.
- Set WebRTC call destination.
- Name: Enter a route name.
- Member Trunks: Select the WebRTC trunk to the Selected box.
- Enable Time Condition: Select the checkbox of Enable Time Condition, and configure time conditions to route the incoming calls based on the time conditions.
- Destination: Select the inbound route destination.

- Click Save and Apply.
3. Place WebRTC Link on Your Website
Create an HTML button on your website, and set the button link to WebRTC link that is generated after you creating the WebRTC trunk.
- On the WebRTC turnk configuration page, click
 to copy the
WebRTC link.
- Paste the link your web browser, press Enter.
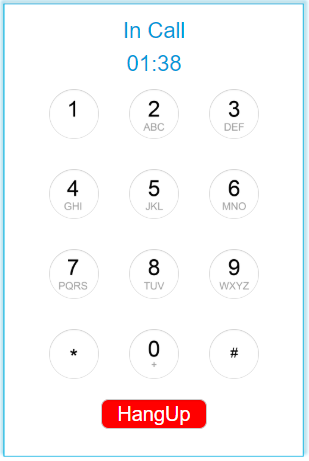
A dialpad will be displayed on the web page and the call will be connected to your pre-configured destination.
