Manage Wallboard Widgets
Widgets displayed on Wallboard are customizable. You can place a widget in a way that is easy to see. This topic describes how to add, resize, lock, delete, reset, and add a note to a widget.
Add a widget
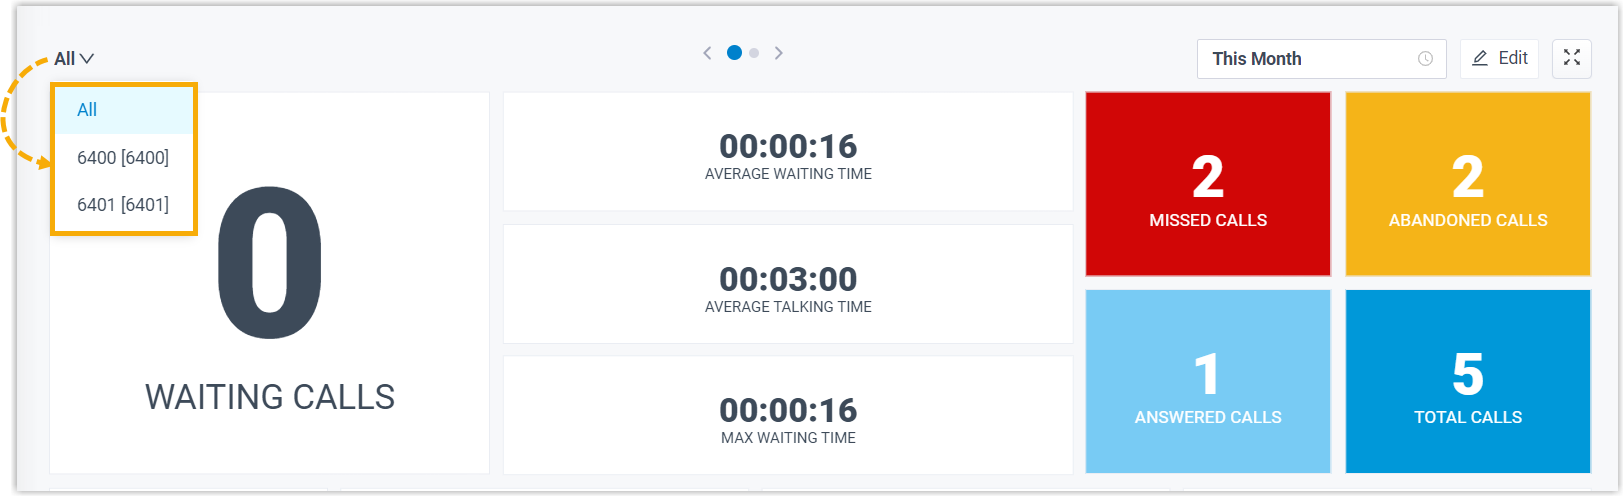
- At the top-left corner of the Wallboard, select
All or select a specific queue.
 Note:
Note:- If you select All, the changes you make to Wallboard widgets will be applied to the current view only.
- If you select a specific queue, the changes you make to Wallboard widgets will be applied to the view for all the single queue.
- At the top-right corner of the Wallboard, click
Edit.

- Click Add Widget.
- In the Type drop-down list, select a statistic type.
- In the Note field, enter the short description according to your needs.
- Click Save.
Resize a widget
- At the top-left corner of the Wallboard, select
All or select a specific queue.Note:
- If you select All, the changes you make to Wallboard widgets will be applied to the current view only.
- If you select a specific queue, the changes you make to Wallboard widgets will be applied to the view for all the single queue.
- At the top right corner of the Wallboard, click Edit.
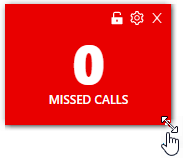
- Hover your mouse over the lower right corner of the widget.
- Hold the widget and then drag the border frame around it up/down and
left/right to resize it.
- Click Save.
Move and lock a widget on a fixed position
- At the top-left corner of the Wallboard, select
All or select a specific queue.Note:
- If you select All, the changes you make to Wallboard widgets will be applied to the current view only.
- If you select a specific queue, the changes you make to Wallboard widgets will be applied to the view for all the single queue.
- At the top right corner of the Wallboard, click Edit.
- Move the widget to a desired position.
- Click
 on the desired widget.
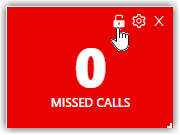
- Click Save.
Delete a widget
- At the top-left corner of the Wallboard, select
All or select a specific queue.Note:
- If you select All, the changes you make to Wallboard widgets will be applied to the current view only.
- If you select a specific queue, the changes you make to Wallboard widgets will be applied to the view for all the single queue.
- At the top right corner of the Wallboard, click Edit.
- Click
 on the desired widget.
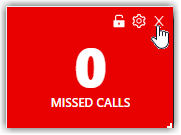
- Click Save.
Add a note to the bottom of the widget
- At the top-left corner of the Wallboard, select
All or select a specific queue.Note:
- If you select All, the changes you make to Wallboard widgets will be applied to the current view only.
- If you select a specific queue, the changes you make to Wallboard widgets will be applied to the view for all the single queue.
- At the top right corner of the Wallboard, click Edit.
- Click
 on the desired widget.
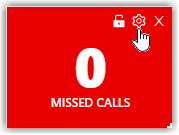
- In the Note field, enter the short description according to your needs.
- Click Save.
Reset widgets
Reset widgets to the default settings and discard changes you have made.- At the top-left corner of the Wallboard, select
All or select a specific queue.Note:
- If you select All, the changes you make to Wallboard widgets will be applied to the current view only.
- If you select a specific queue, the changes you make to Wallboard widgets will be applied to the view for all the single queue.
- At the top right corner of the Wallboard, click Edit.
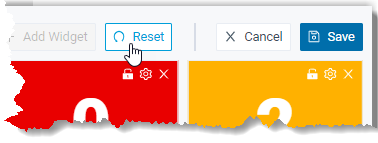
- Click Reset and Save.
The custom position, note, and size of the widgets will be reset to back to the default settings.